3.1 Menu
Clicking on the top left, where PM Terminal is present, opens the following menu:
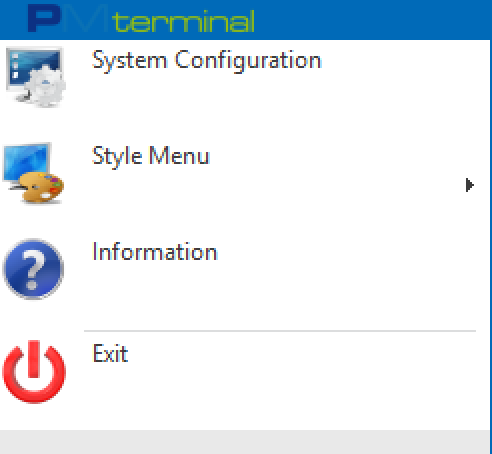
The first entry that appears is System Configuration and is used to configure the various terminals:
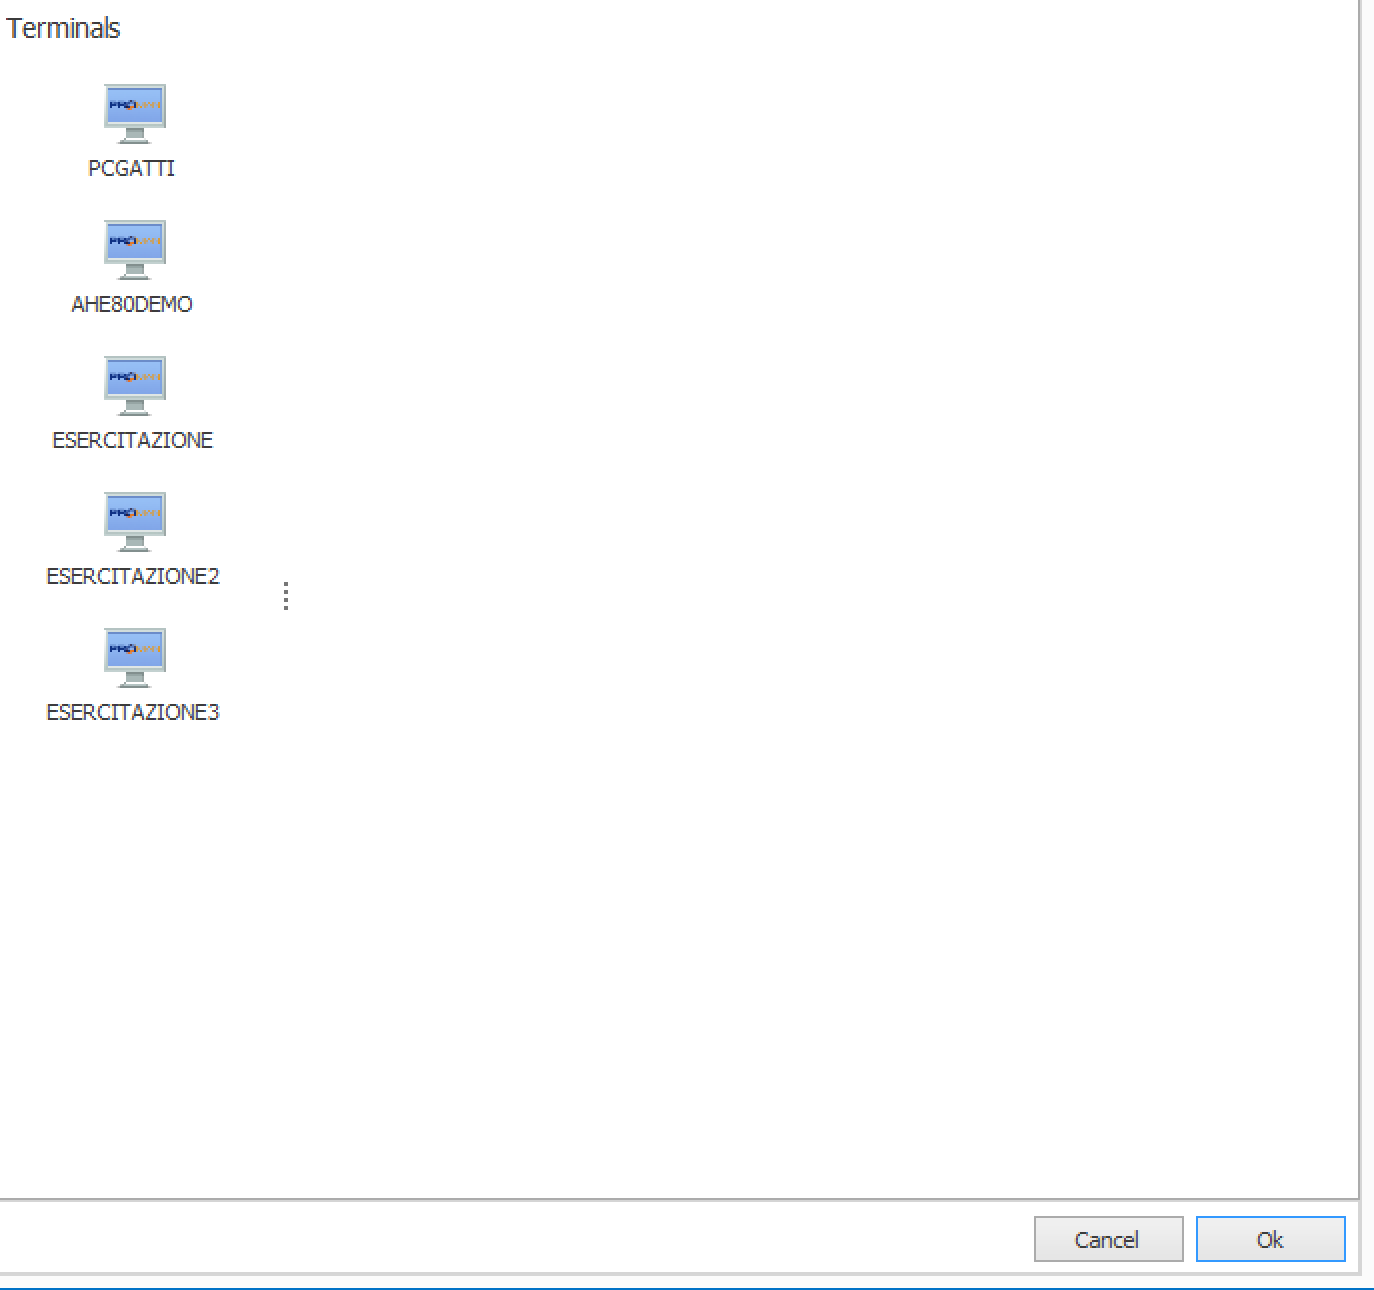
Here,we can change the configurations of the terminals already inserted by simply selecting the terminal that interests us or adding a new terminal,right-clicking on the left side of the screen will show add new terminal:

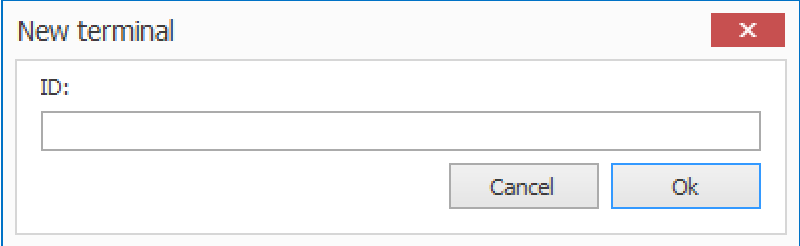
By clicking on it you will be prompted for the ID of the new terminal, insert one to your liking and press OK
At this point, we have created our new terminal, now we are ready to change the configurations:
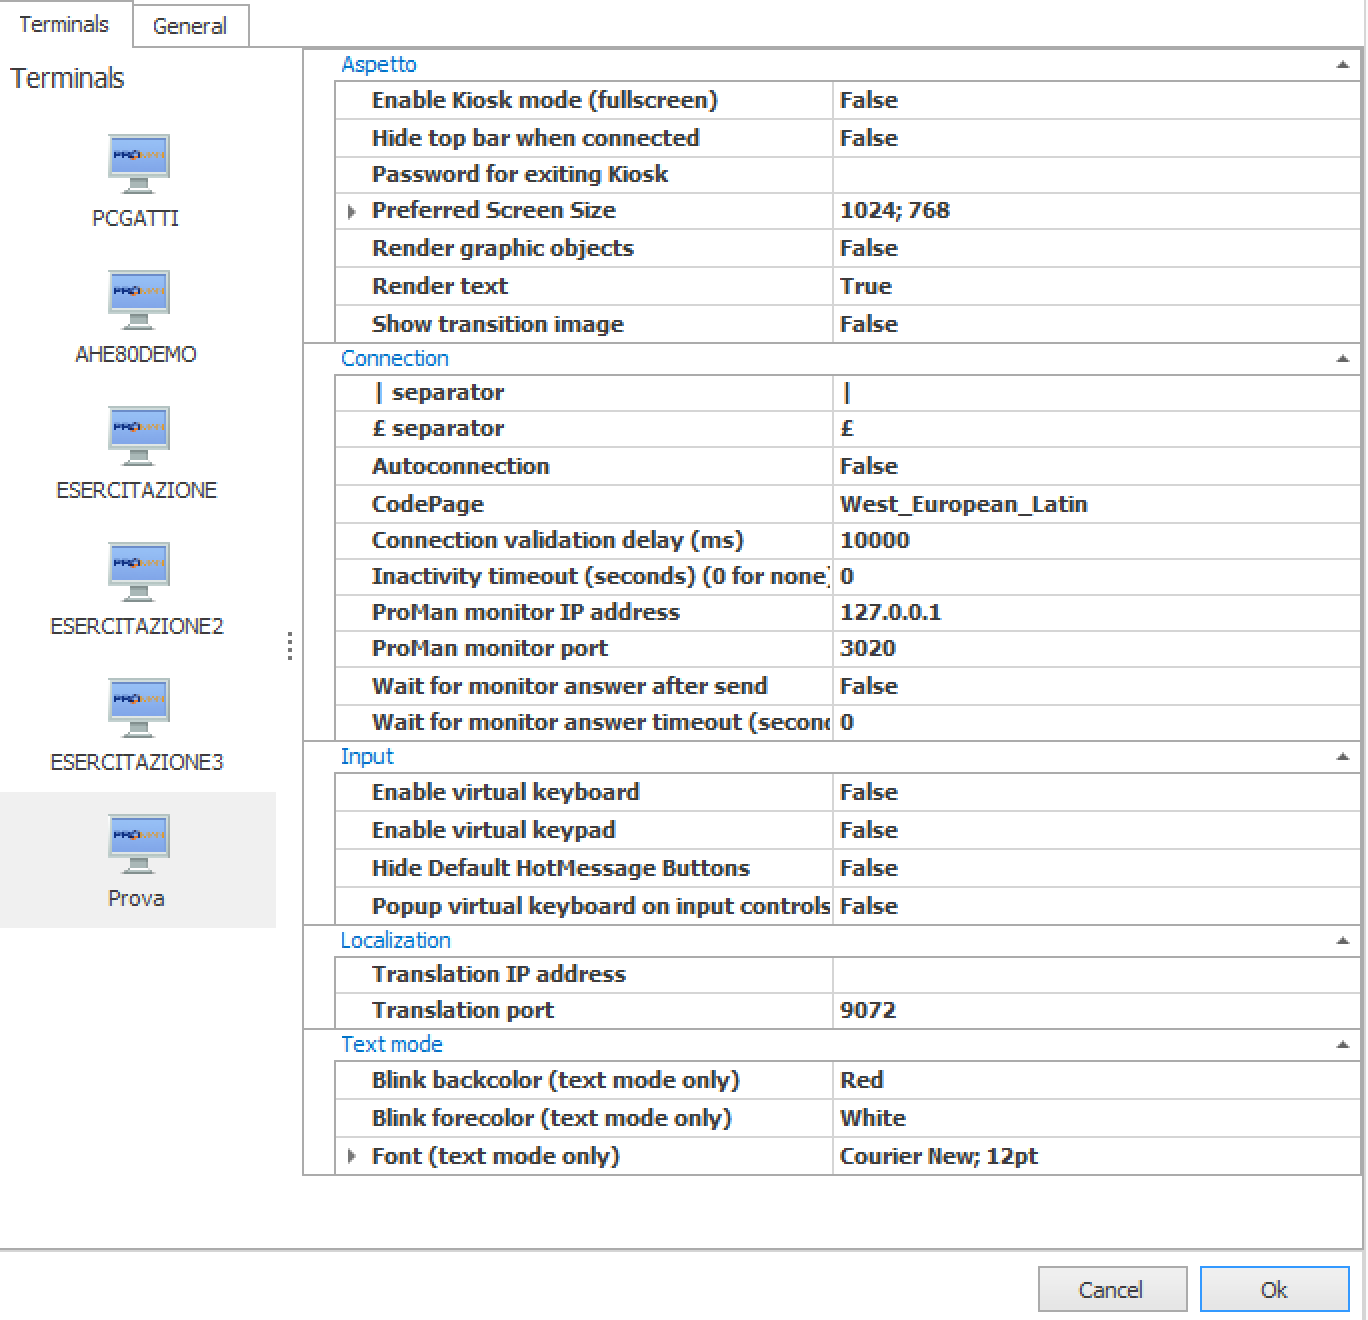
The first step is to change the following parameters:
- Render graphic objects
- Render text
In order to render possible the graphic and non-textual representation, then set the first to true and the second to false:

Another important field is that:
- ProMan Monitor IP address: Insert the monitor ip address (Host)
- ProMan monitor port: Insert the port
These parameters can be retrieved in the Plant Editor by selecting the terminal that interests us. At the bottom right you will find what you are looking for (and possibly you can change it depending on your needs, for example, the door is set to default on 3020):
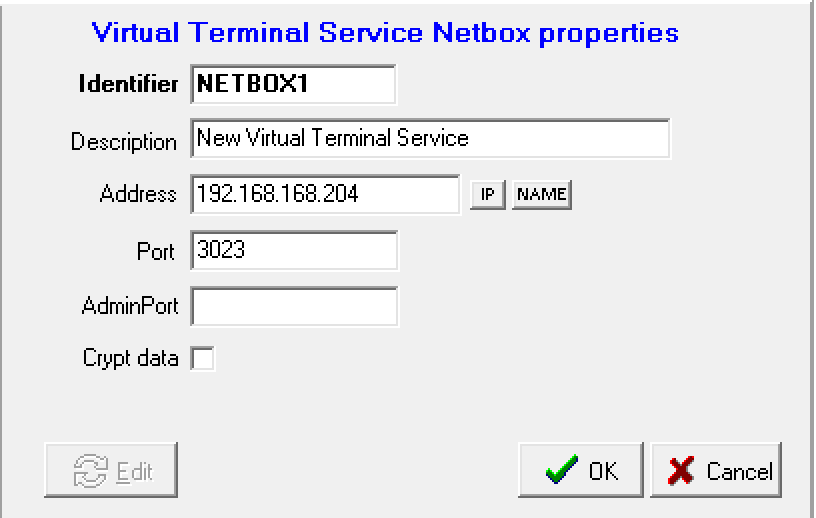
The other fields should be set as desired depending on the needs, wanting to be left with the value that PM Terminal has by default. Let's now see the General page:
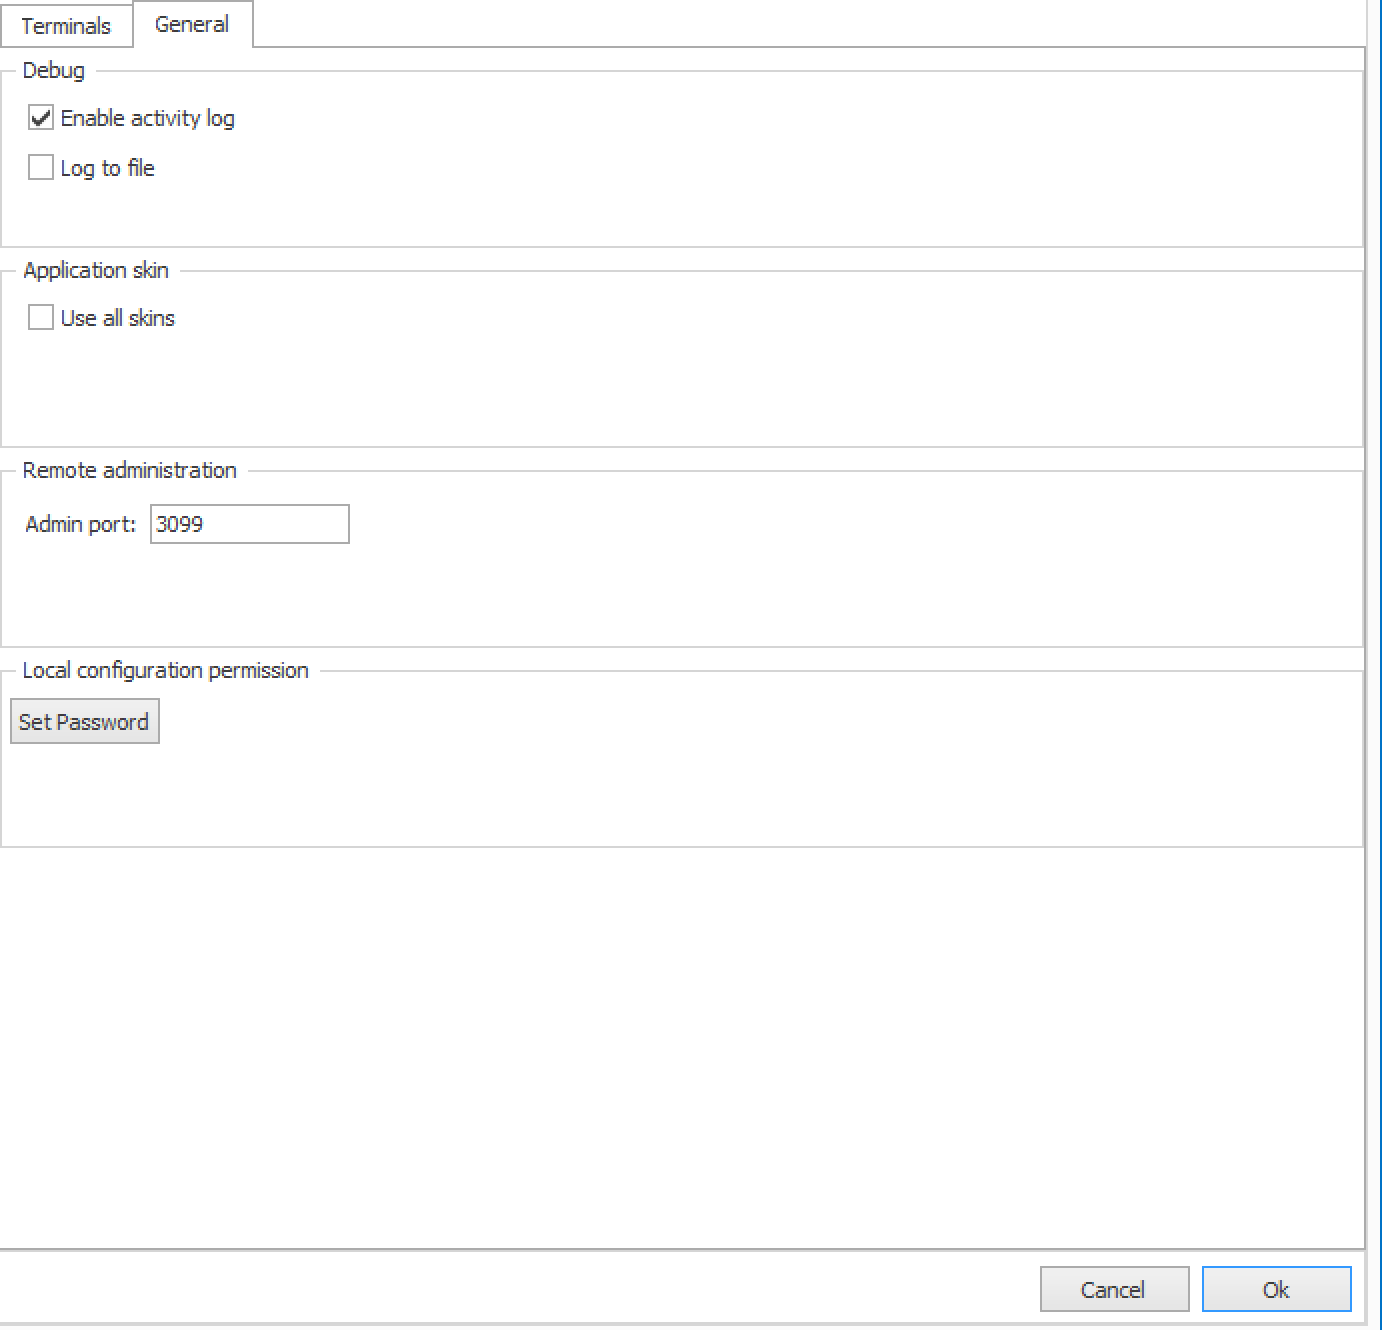
On this page we can decide whether to activate logs (Enable activity log) and optionally save them to a file(Log to file), if use all skin (use all skin), set remote port for administrator(Admin port) and finally enter a password for authentication (set password).
Let's now see the Style Menu item, where we could decide what style to give to our menu, by default is selected office 2013:
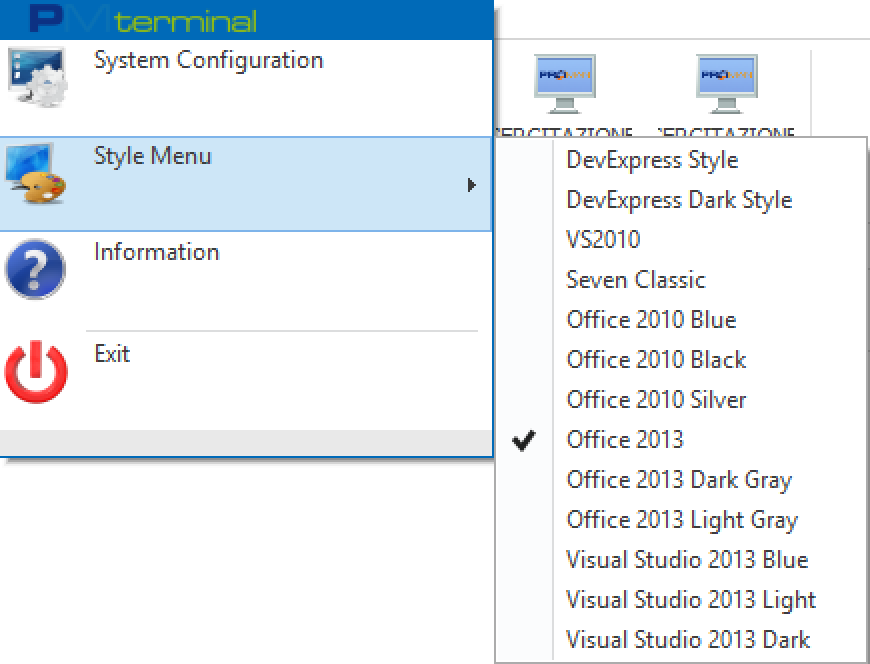
In the entry information we will find directions for the program path, version etc ..
Created with the Personal Edition of HelpNDoc: Free iPhone documentation generator